Amazon Sellers Blog
Tips, strategies, and insights to help you grow your Amazon business — from product research to scaling profitably.

The 3 Numbers Amazon Doesn't Want You to Know
Most Amazon sellers vet products by drowning in twenty different metrics. They only need three. The sellers who survive past their first inventory order all check the same three numbers before they put money behind a product. The sellers who get bur


5 Amazon Product Research Mistakes That Cost Beginners Thousands
Most beginner Amazon sellers lose their first thousand dollars on the same five mistakes. Not five different mistakes for five different people. The same five, in roughly the same order. I've watched sellers make all of them. I've made three of them
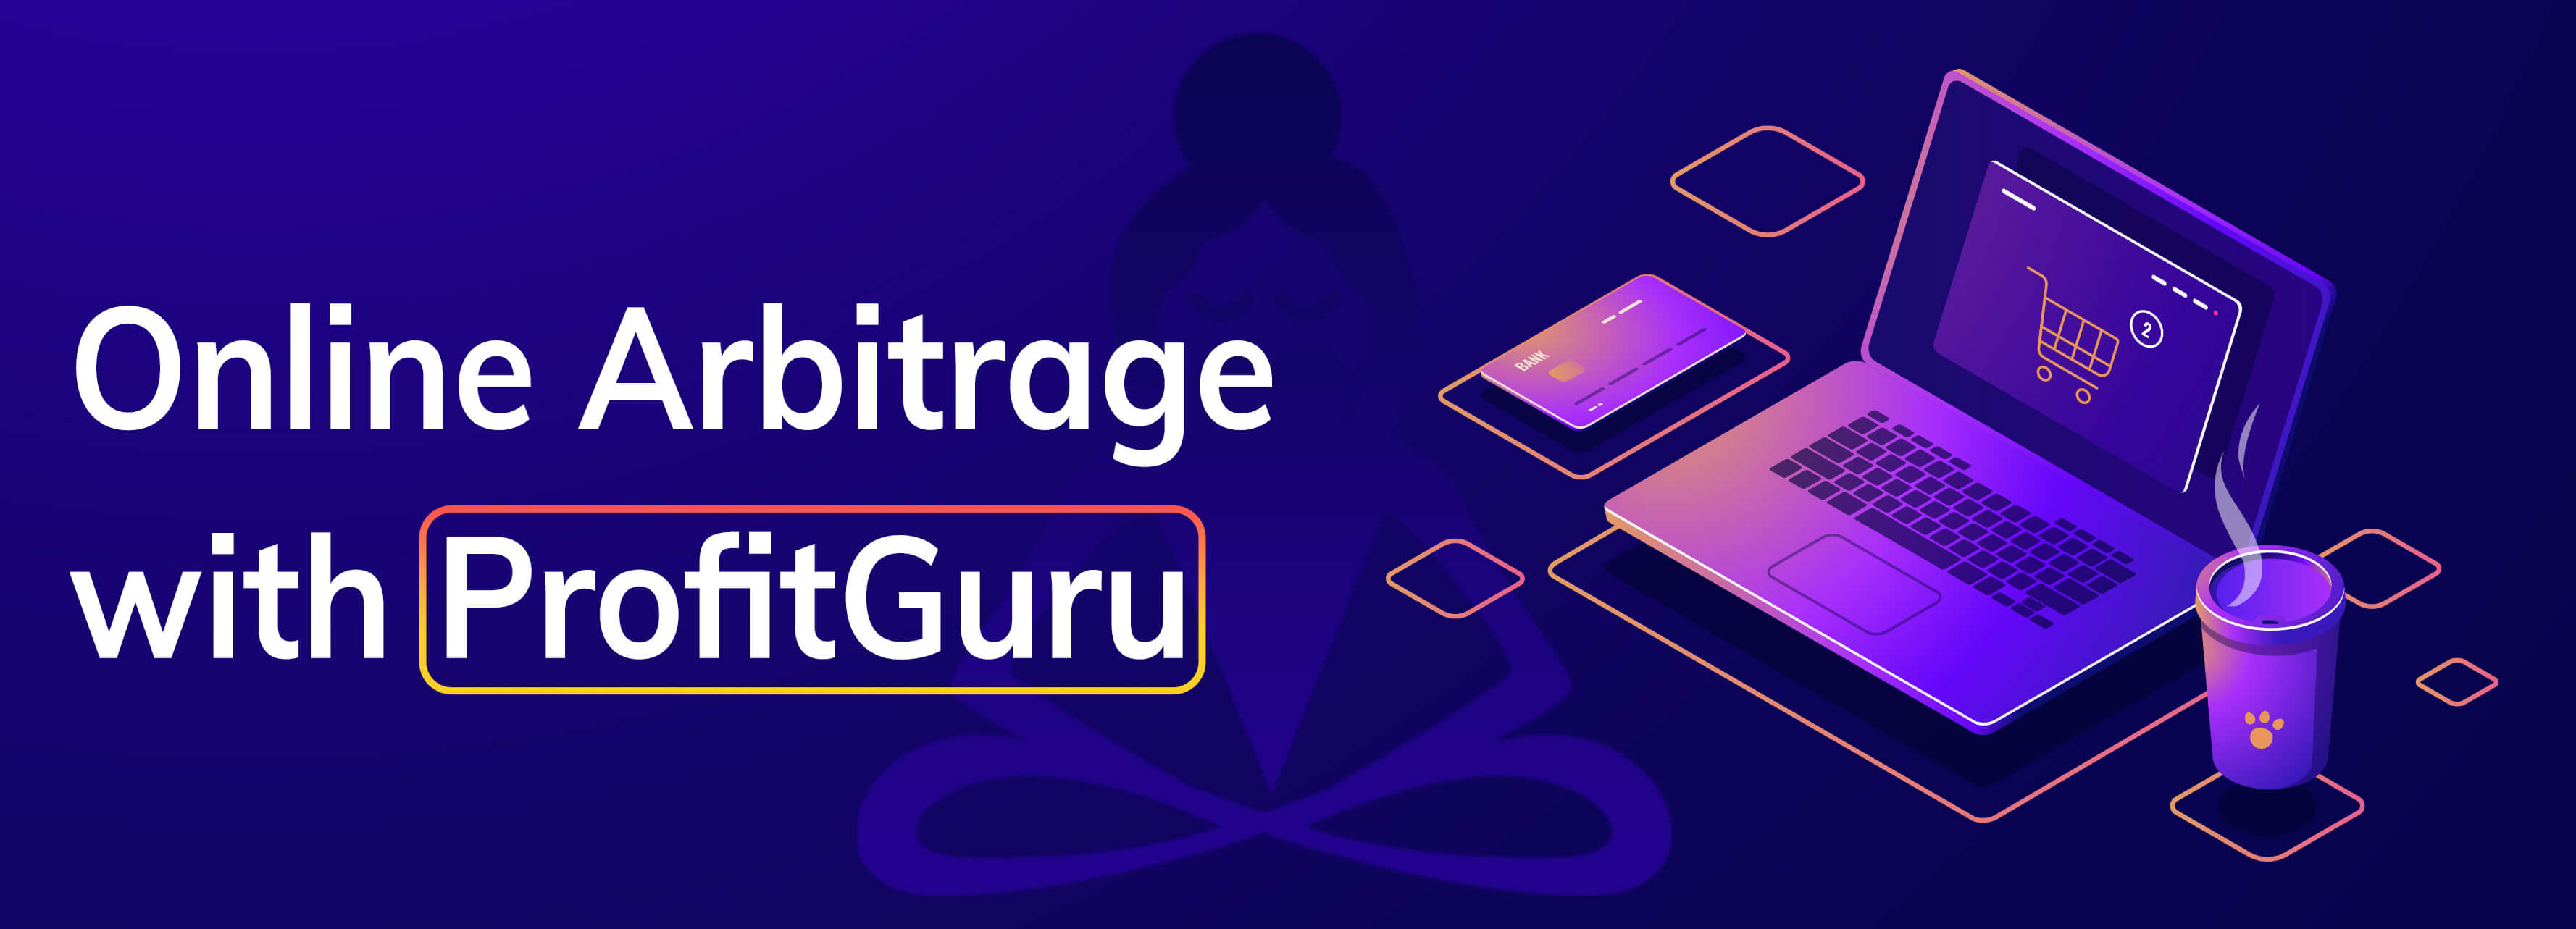
Online Arbitrage with Profit Guru
I'm excited to share the secrets of online arbitrage (OA) and how Profit Guru can elevate your game in the world of reselling. If you're looking to make more money through Amazon FBA, this article is tailored just for you. If you’d rather watch th

How To Increase Your Sales With Amazon Brand Registry (2022 Step-By-Step Guide)
If you’re serious about building your brand and your business on Amazon, then let’s talk about getting brand registered! If you’d rather watch the video instead then click the link and video below! If you’re investing hours upon hours
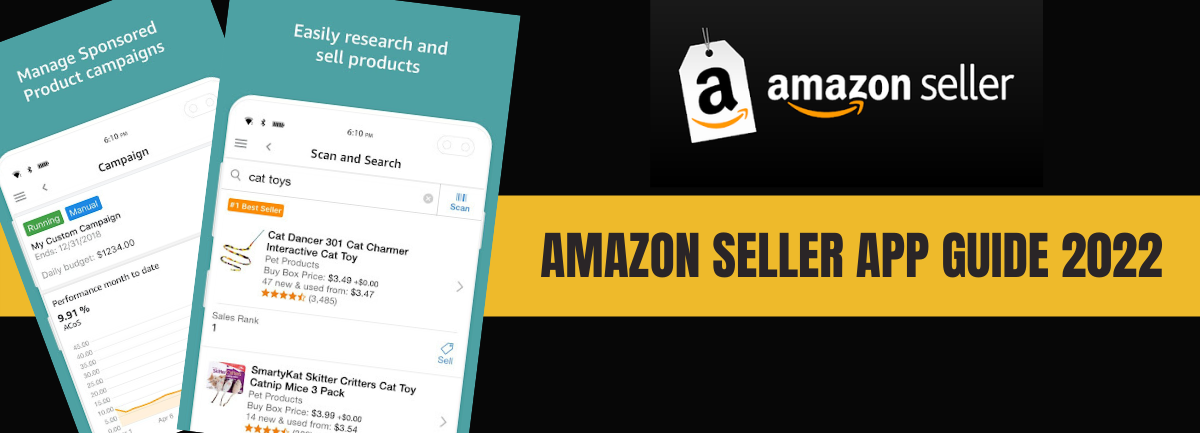
How to Use the Amazon Seller App 2022
If you have an Amazon Seller Account that you need to manage, then you have to download the Amazon Seller App! Navigating through your account using a laptop or desktop computer can be a daunting task, but the layout of the app makes this process muc
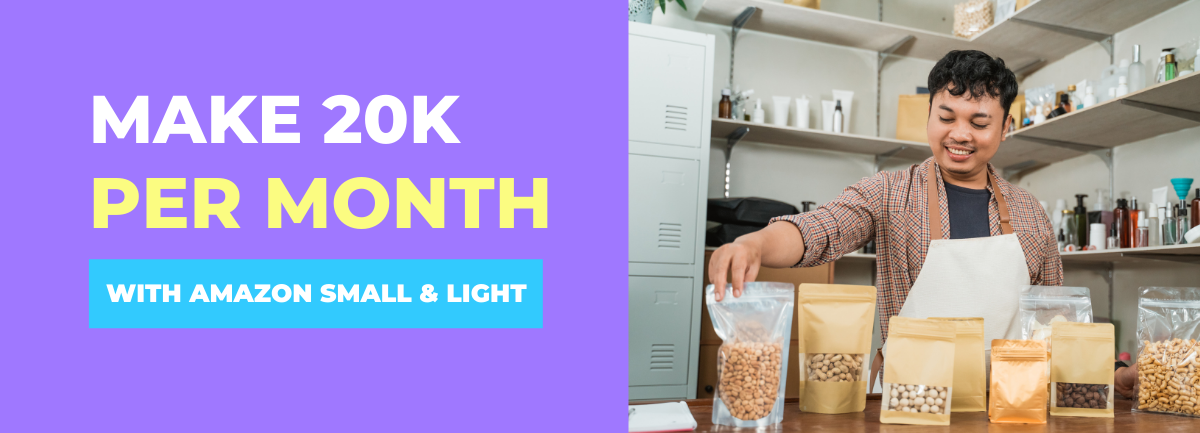
How to Make 20K Each Month on Amazon Selling Small & Light
What could an extra 20K each month do for you? What if I told you that this can be totally achievable!!! There is an untapped abundance of profit to be made by selling in Amazon’s Small and Light program. Keep reading to learn how to do this, or simp

4 EASY Methods to Getting Ungated on Amazon
If you sell on Amazon, then seeing the dreaded “Access Restricted- You Must Apply for Approval” message is something that you are probably all too familiar with. This can serve as a huge barrier when you’re ready to start diversifying the products, c
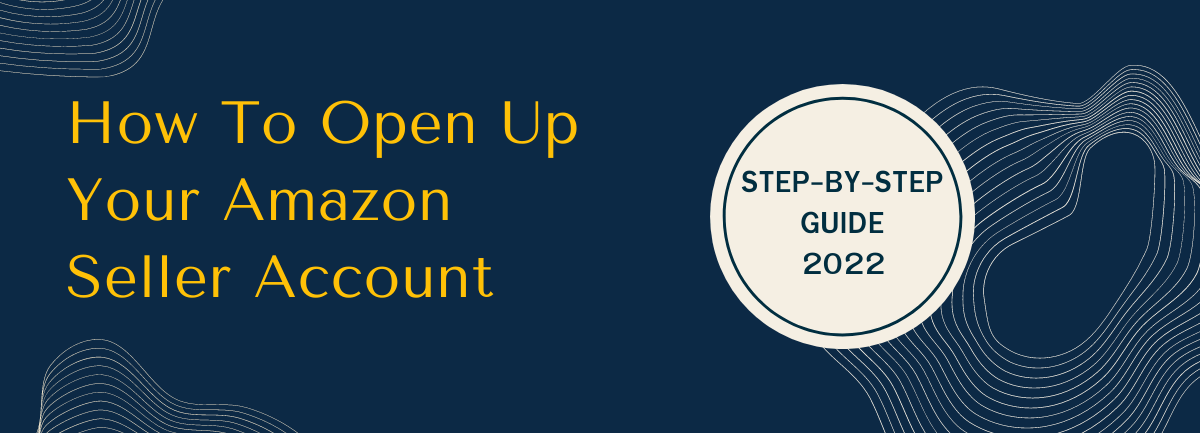
Guide: How To Open Up Your Amazon Seller Account Today!
Have you been wanting to get started with selling on Amazon, but you’re not really sure how to start? I can 100% relate to this feeling. Odds are that you probably already buy products online from Amazon. The platform receives over 2 billion websi
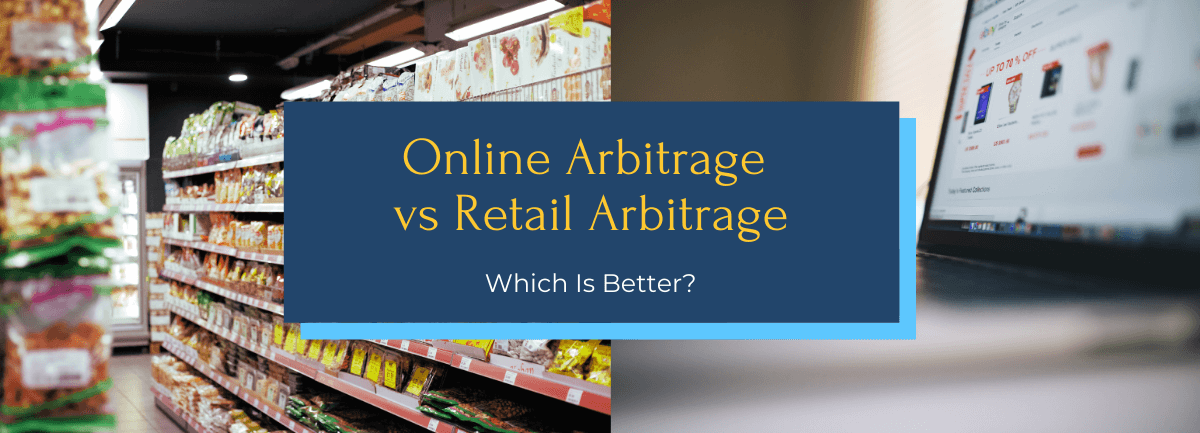
Online Arbitrage vs Retail Arbitrage: Which Is Better?
Have you ever wondered why prices for the same product can vary widely across e-commerce platforms? That’s because third-party sellers use online arbitrage and retail arbitrage to make a nice profit using the internet. Know the Difference Be
Ready to grow your Amazon business?
Product research, keyword data, competitor analysis — all in one platform.
Get Started →Plans from $25/month · 7-day money-back guarantee
